
Google Adsense is the best ad network for bloggers to earn good money with their blogs/websites.
Whether you are a newbie just starting out a blog or experienced bloggers, you’d know that you can earn good money with Google Adsense with a little effort.
Here, I’ll explain step by step process of How to create a Google Adsense account and How to get Adsense approval for your website or blog.
If you are an experienced blogger and have skills, you can also make money with Affiliate Marketing but more on that later.
Here, We’ll just focus on getting your Adsense account approved.
When I started blogging in 2010, I learned about Adsense and got my account approved for my site MaherHackers then.
With the site getting many unique visits daily then, I got good earning from Adsense even though I was a newbie and didn’t know much about Blogging.
So Adsense is one of the best options to earn money for new bloggers.
To help fellow new bloggers, I am sharing this guide on how to get Adsense account approved, So you can too start earning money online with your website.
Before you apply for an Adsense account, You need to have a website obviously, and you must be above 18 years old. If not, you can apply using your parent’s name.
To get your Adsense account approved, Here are the requirements:

Google Adsense Approval Checklist
Your website must be more than a month old:
You cannot just purchase a domain & hosting and ask for Adsense approval. Your website needs to be at least a month old before you can apply.
Though if you have already added good content, you can get early approval.
The website should have Quality content:
You might have heard many times: Content is the king. I cannot agree more with it. Your website needs unique and rich content. You need at least 15 or more good quality articles before applying.
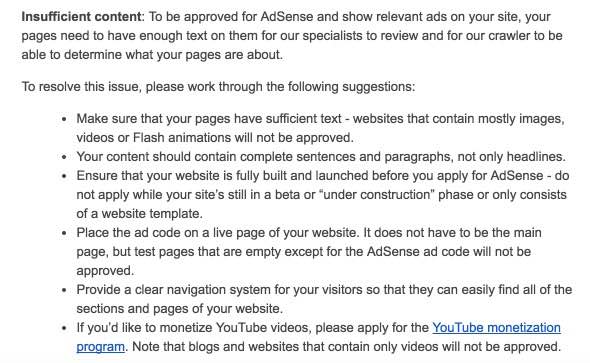
If you don’t pay attention to good quality content, Google might reject your application saying you have Insufficient or unacceptable content on your website.
The website design should be professional:
No matter how great content you have, your website should be easy to navigate, and it should provide a seamless user experience with its design and functionalities. Invest in a good premium theme for your WordPress site.
Design goes a long way to the success of your website.
Add to Google Webmasters and Analytics:
The next thing you should do is add your website to Google Webmasters Tools and add Google Analytics code to your website. That shows Google that you are serious about your website.
You can go and register to Google Webmasters from here and register to Google Analytics here.
Other things to do:
Besides taking care of all the steps above, Create XML Sitemap page on your website and also add it to Google Webmasters. For XML Sitemap, You can use Google XML Sitemaps plugin for WordPress.
Create About us, Contact us pages on your website which improves your website’s credibility.
Also, get traffic to your website from Social Media and other places. It’ll ensure you have a good ranking and Google will see it as a worthwhile website.
Also read:
- How to Integrate Google Adsense Search into Your WordPress Site
- Affiliate Marketing Vs Google AdSense
Apply for Google Adsense Account:
Now that your website is ready to be accepted, We can apply for Google Adsense account and see if it gets accepted on the first try! Here are the steps to apply:
Go to: Google Adsense Signup Page
You’ll get an option to either sign in with your current account or create a new Google account. Choose according to your preference.
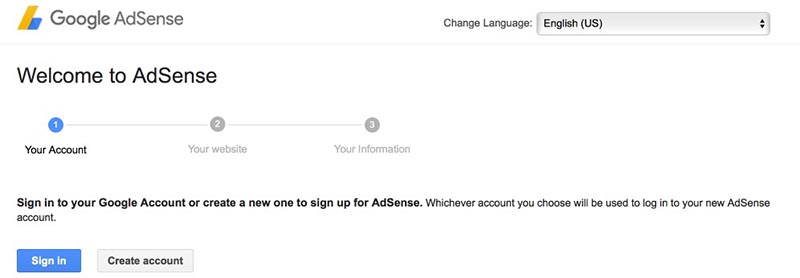
After signing in with your Google account, you’ll go to the next step where you add your website domain name.
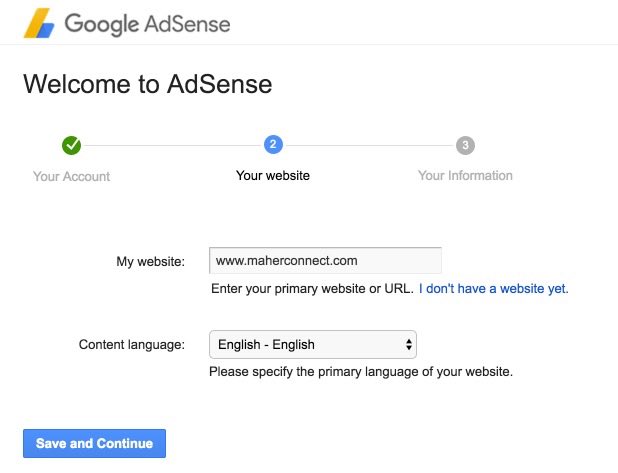
It’s pretty simple. Just add your website address and select your website’s language.
When adding your website URL, make sure not to include http://. Just enter your domain name like the image above.
Then click Save and Continue, and you’ll be redirected to the last step. You should give attention to this one because here you have to add details that you might never get to change.
Make sure to add the correct name and address details and that you have a Bank account with the same name.
Google will be sending you payments to your chosen name for the rest of your life. So don’t make any mistakes. If you signup as Business, you’ll be receiving payments to your Business name.
In many countries, Google doesn’t allow changing of Payee name. Here is the list of countries not allowed to change the payee name after signing up.
Next, You might need to verify your phone with Google Adsense. They’ll send you a PIN via SMS that you’ll need to enter and verify your mobile number.
After verification, it’ll show you a Google terms and conditions window. Read all the TOS carefully and click accept.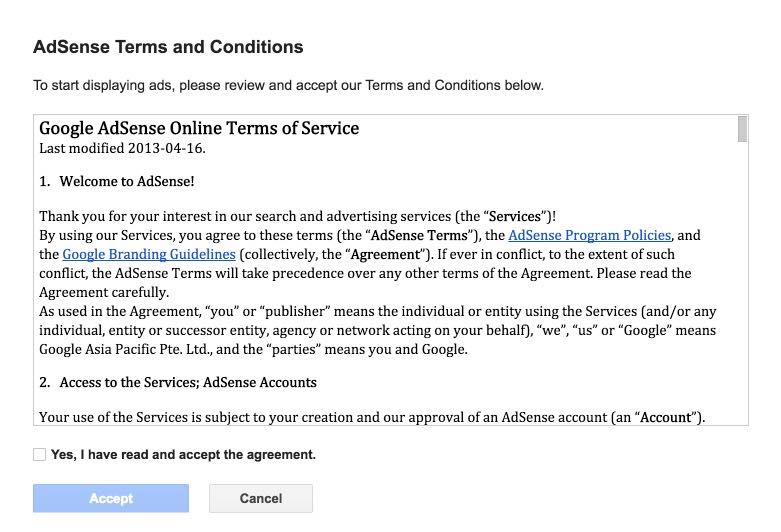
Within a week or so, you’ll receive an email from Google asking to place ad code on your website.
After you place the ad code on your website, Google will conduct a second review of your account.
After a few days, You will hear from Google regarding the status of your application.
If you get approved, that’s great.
But if you get disapproved, no need to worry, you can make changes to your website according to Google’s disapproval reason, and you can resubmit your application again anytime.
If your application is approved, You’ll receive the following email as shown in the image below:
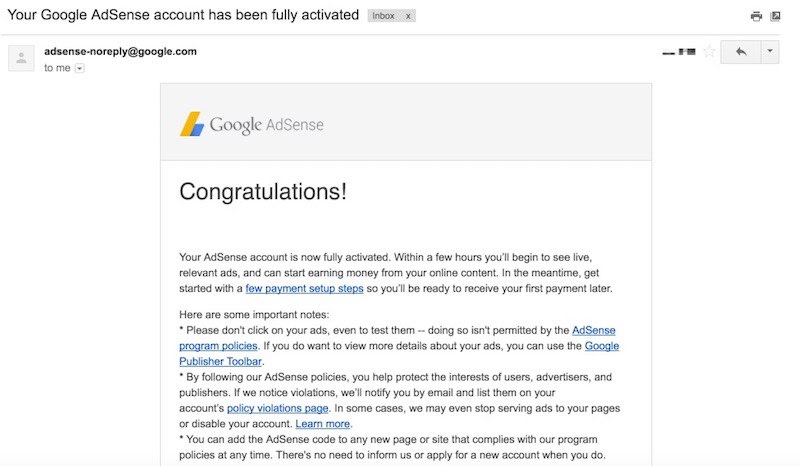
I had tried four times before my Google Adsense account approved, So don’t lose hope!
Once you have your Adsense account approved, you can learn ways to increase Adsense earnings and increase your income.
And if you need any help regarding your Adsense account, you can contact us anytime.


Well Done Brother
Great article, Very helpful for new bloggers.